
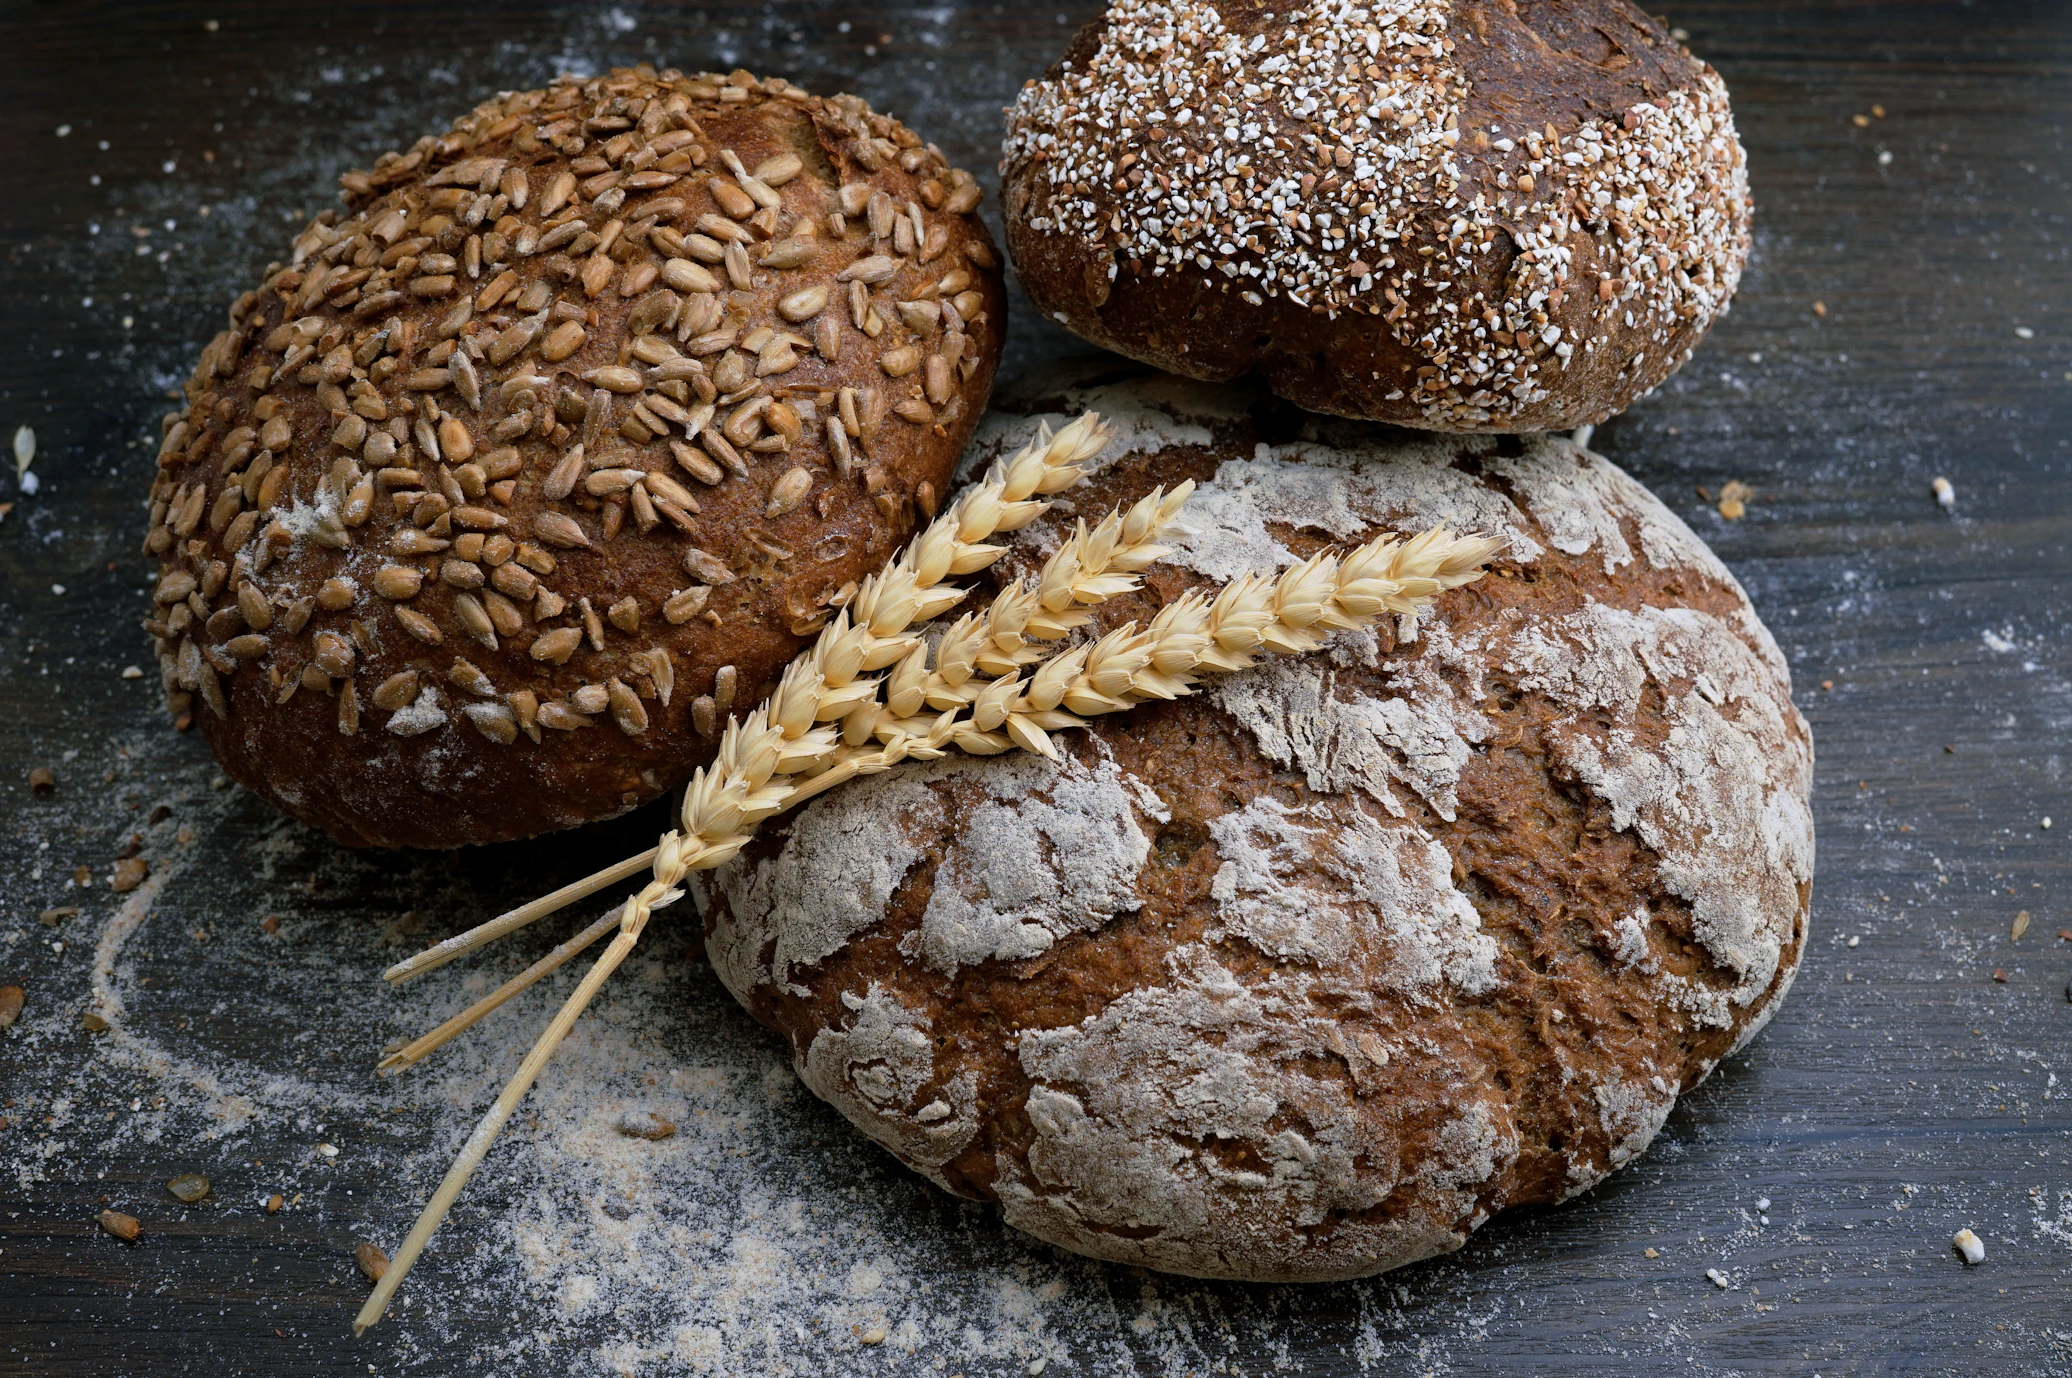
There is a specific kind of magic that happens in a kitchen when yeast, flour, and cinnamon converge. It begins with the subtle, earthy scent of blooming yeast and culminates in an intoxicating aroma that wraps around your home like a warm blanket. Homemade Cinnamon Sugar Swirl Bread is not just a baked good; it is an experience, a labor of love, and a testament to the beauty of slow food.
In this comprehensive guide, we are going to explore every facet of creating a loaf that rivals the best artisanal bakeries. We’ll dive into the science of the crumb, the architecture of the perfect swirl, and the decadent finishing touch of a tangy cream cheese glaze. Whether you are a seasoned baker or a novice taking your first steps into the world of enriched doughs, this article will provide the depth and detail needed to master the art of the swirl.
The Soul of the Loaf: Understanding Enriched Dough
Before we touch a single measuring cup, we must understand what makes this bread “fluffy.” Unlike a crusty sourdough or a rustic baguette, cinnamon swirl bread is made from an enriched dough.
Enrichment means adding fats and sugars—specifically butter, milk, and eggs—to the basic flour-water-yeast matrix. These ingredients interfere with gluten development just enough to create a soft, pillowy texture rather than a chewy one. The fats coat the flour proteins, resulting in shorter gluten strands. This is why enriched breads have that signature “pull-apart” tenderness.
The Role of Milk
While water is the standard hydrator for bread, milk adds lactose (milk sugar), which doesn’t ferment but does caramelize, contributing to a golden-brown crust. The proteins in milk also strengthen the dough while keeping the interior moist.
The Role of Fat
Butter is the vehicle for flavor. By using softened butter in the dough, we ensure a rich mouthfeel. It also acts as a preservative, keeping the bread soft for days after baking—though it rarely lasts that long.
Ingredient Details: The Building Blocks
To achieve perfection, the quality and state of your ingredients matter. Below is the detailed breakdown of what you will need, structured for easy reference.
1. The Dough Components
| Ingredient | Quantity | Purpose | Pro Tip |
|---|---|---|---|
| All-Purpose Flour | 4 to 4.5 Cups | Provides the structure and bulk. | Use a kitchen scale for accuracy (approx. 125g per cup). |
| Whole Milk | 1 Cup | Hydrates the flour and enriches the crumb. | Ensure it is warmed to 110°F (43°C) to activate yeast. |
| Granulated Sugar | 1/3 Cup | Feeds the yeast and sweetens the dough. | Don’t over-sugar the dough; let the filling do the heavy lifting. |
| Active Dry Yeast | 2.25 tsp (1 packet) | The leavening agent responsible for the rise. | Ensure it is fresh; if it doesn’t foam in milk, discard and restart. |
| Unsalted Butter | 6 Tbsp (Softened) | Adds richness, flavor, and softness. | Use high-quality European-style butter for a richer taste. |
| Large Egg | 1 (Room Temp) | Provides structure and a golden color. | Room temperature eggs incorporate better into the dough. |
| Fine Sea Salt | 1 tsp | Enhances flavor and regulates yeast activity. | Never put salt directly on top of dry yeast; it can kill it. |
2. The Cinnamon Swirl Filling
| Ingredient | Quantity | Purpose | Pro Tip |
|---|---|---|---|
| Brown Sugar | 1/2 Cup | Creates a gooey, caramelized interior. | Use dark brown sugar for a deeper molasses flavor. |
| Ground Cinnamon | 2 Tbsp | The primary flavor profile. | Use Ceylon cinnamon for a subtle floral note or Cassia for heat. |
| Melted Butter | 2 Tbsp | Acts as the “glue” for the sugar and spice. | Brush it right to the edges, leaving a small margin for sealing. |
| Flour (Optional) | 1 tsp | Prevents the “gap” in the swirl. | A tiny bit of flour in the filling helps it bond to the dough. |
3. The Cream Cheese Glaze
| Ingredient | Quantity | Purpose | Pro Tip |
|---|---|---|---|
| Cream Cheese | 4 oz (Softened) | Provides a tangy contrast to the sweet bread. | Ensure it’s very soft to avoid lumps in the glaze. |
| Powdered Sugar | 1 Cup | Sweetens and thickens the glaze. | Sift the sugar to ensure a silky-smooth finish. |
| Vanilla Extract | 1 tsp | Adds aromatic depth. | Use pure vanilla bean paste for visible black flecks. |
| Heavy Cream | 2-3 Tbsp | Adjusts the consistency. | Add one tablespoon at a time until it reaches “drizzle” stage. |
Step-by-Step Instructions: The Path to Perfection
Baking bread is a rhythmic process. It requires patience and an observant eye. Follow these steps precisely for the best results.
Phase 1: Activating the Yeast (Blooming)
The journey begins with waking up the yeast. In a small bowl or the bowl of your stand mixer, combine the warm milk (110°F) and one tablespoon of the granulated sugar. Sprinkle the active dry yeast over the top and give it a gentle stir.
Let it sit for about 5 to 10 minutes. You are looking for a frothy, bubbly head to form on the surface. This is “blooming.” If the mixture remains flat and liquid, your yeast is likely dead, or your milk was too hot. Do not proceed until you see activity, or your bread will not rise.
Phase 2: Mixing the Dough
Once the yeast is active, add the remaining sugar, the room-temperature egg, and the softened butter. Using the paddle attachment of your mixer (or a sturdy wooden spoon), mix until combined.
Begin adding the flour one cup at a time along with the salt. Switch to the dough hook once the mixture becomes a shaggy mass. Continue adding flour until the dough clears the sides of the bowl. It should be slightly tacky to the touch but should not stick to your fingers.
Phase 3: The Art of Kneading
Kneading is the process of aligning proteins to create gluten.
- By Machine: Knead on medium-low speed for 5–7 minutes. The dough should become smooth, elastic, and spring back when poked.
- By Hand: Turn the dough onto a lightly floured surface. Use the heel of your hand to push the dough away from you, fold it back, rotate, and repeat. Do this for 10 minutes.
The Windowpane Test: To check if the gluten is sufficiently developed, take a small piece of dough and gently stretch it. If you can stretch it thin enough to see light through it without it tearing, you’ve reached the “windowpane” stage.
Phase 4: The First Rise (Bulk Fermentation)
Lightly grease a large bowl with oil or butter. Place the dough inside, turning it once to coat. Cover the bowl with a damp cloth or plastic wrap.
Place the bowl in a warm, draft-free spot. Let the dough rise until it has doubled in size. This usually takes 1 to 1.5 hours depending on the temperature of your kitchen.
Phase 5: Rolling and Filling
Once the dough has doubled, gently punch it down to release the air. Turn it out onto a lightly floured surface. Use a rolling pin to roll the dough into a rectangle roughly 9×15 inches.
Brush the surface with the melted butter, leaving about a half-inch border at the top edge. In a small bowl, mix the brown sugar and cinnamon (and that optional teaspoon of flour). Sprinkle this mixture evenly over the buttered dough. Press the sugar down slightly with your hands so it adheres.
Phase 6: The “Tight Roll” Technique
Starting from the short end (the 9-inch side), begin rolling the dough into a tight log. The tighter the roll, the better the swirl looks when sliced. When you reach the end, pinch the seam firmly against the log to seal it. Tuck the ends under slightly.
Phase 7: The Second Rise (Proofing)
Place the log into a greased 9×5-inch loaf pan. Cover it again and let it rise for a second time for about 45–60 minutes. The dough should rise about an inch above the rim of the pan. This second rise is crucial for the “fluffy” texture.
Phase 8: Baking
Preheat your oven to 350°F (175°C). Bake the loaf for 35 to 45 minutes.
- Testing for Doneness: The crust should be a deep golden brown. If you have an instant-read thermometer, the internal temperature should reach 190°F (88°C).
- The Foil Trick: If the top is browning too quickly but the center isn’t done, loosely tent the loaf with aluminum foil for the final 10 minutes.
Phase 9: Glazing
While the bread cools in the pan for 10 minutes, whisk together the cream cheese, powdered sugar, vanilla, and heavy cream until smooth.
Remove the bread from the pan and place it on a wire rack. While the bread is still slightly warm (but not hot), pour the cream cheese glaze over the top. The warmth will allow the glaze to drip down the sides beautifully.
The Science of the Perfect Swirl: Preventing the “Gap”
One of the most common frustrations in baking cinnamon bread is the “cinnamon gap”—the hollow space that sometimes forms between the bread and the cinnamon spiral. This happens because the sugar melts into a syrup and creates steam, which pushes the dough away.
To prevent this:
- Don’t Over-Butter: Use just enough butter to make the sugar stick. Too much fat creates a barrier.
- Add a Little Flour: As mentioned in the ingredient list, adding a teaspoon of flour to the cinnamon-sugar mix helps absorb the moisture from the melting sugar, turning it into a paste that grips the dough.
- Roll Tightly: A loose roll is a recipe for a gap. Tension is your friend.
- Egg Wash Alternative: Instead of butter, some bakers use an egg wash (one egg beaten with a splash of water) to adhere the sugar. The proteins in the egg act as a powerful glue.
Troubleshooting Common Issues
My Bread is Dense and Heavy
This usually happens for three reasons:
- Under-proofing: You didn’t let the dough rise long enough.
- Dead Yeast: The yeast didn’t bloom properly.
- Too Much Flour: If you add too much flour during the kneading process, the dough becomes dry and heavy. Always aim for a dough that is slightly tacky.
The Bread Collapsed After Baking
This is often the result of over-proofing. If the dough rises too much during the second rise, the gluten structure weakens and cannot support the weight of the bread in the oven. The dough should be about an inch above the pan, not cascading over the sides.
The Crust is Too Hard
To keep the crust soft, you can brush the top of the loaf with melted butter immediately after taking it out of the oven. Covering the cooling bread with a clean kitchen towel also helps trap a bit of steam, softening the exterior.
Advanced Variations to Try
Once you have mastered the basic recipe, the possibilities are endless. Here are a few ways to elevate your Cinnamon Swirl Bread:
1. The Nutty Crunch
Add 1/2 cup of finely chopped pecans or walnuts to the cinnamon-sugar filling. Toasting the nuts beforehand adds an extra layer of flavor.
2. The Raisin Classic
Soak 1/2 cup of raisins in warm water (or rum!) for 10 minutes, drain them, and pat them dry. Sprinkle them over the filling before rolling.
3. Apple Pie Swirl
Finely dice a Granny Smith apple and sauté it with a bit of butter and sugar until soft. Spread the cooled apples over the cinnamon-sugar mixture before rolling.
4. Pumpkin Spice Upgrade
Replace the cinnamon with pumpkin pie spice (a blend of cinnamon, nutmeg, cloves, and ginger) and add 1/4 cup of pumpkin purée to the dough (adjusting flour as needed).
The Sensory Experience: Why We Bake
Baking is more than just chemistry; it’s an act of mindfulness. In a world that moves at the speed of a fiber-optic cable, bread moves at the speed of biology. You cannot rush yeast. You cannot force the dough to rise faster than the temperature allows.
The process of kneading—the rhythmic push and pull—is known to reduce stress. The anticipation during the bake, as the smell of cinnamon begins to waft through the house, creates a sense of home and security. Slicing into a loaf you made with your own hands provides a sense of accomplishment that few other tasks can match.
Storing and Reheating
If you have leftovers (a rare occurrence), proper storage is key to maintaining that fluffiness.
- Room Temperature: Store in an airtight container or a sealed plastic bag for up to 3 days.
- Freezing: This bread freezes beautifully. Slice the loaf first, then wrap the whole thing or individual slices in plastic wrap and aluminum foil. It will stay fresh for up to 3 months.
- Reheating: For the best experience, toast a slice and top it with a little extra butter. If you have the glaze on it already, a quick 10-15 seconds in the microwave will soften the bread and make the glaze gooey again.
Turning Leftovers into Gourmet Meals
If your bread starts to go slightly stale, don’t throw it out. It is the absolute best foundation for other dishes:
Cinnamon Swirl French Toast
Thick slices of this bread dipped in a custard of eggs, cream, and vanilla make for the most decadent French toast you’ve ever tasted. Because the bread is enriched, it holds up well to soaking without falling apart.
Bread Pudding
Cube the bread and toss it with a custard base and some extra raisins or chocolate chips. Bake until set for a dessert that will impress any guest.
The “Cinnamon Grilled Cheese”
Hear me out: two slices of this bread, a thin layer of sharp cheddar or brie cheese, and a bit of butter in a skillet. The salty-sweet combination is a culinary revelation.
Conclusion: Your Journey to the Perfect Loaf
The Fluffy Cinnamon Sugar Swirl Bread with Cream Cheese Glaze is more than just a recipe; it is a hallmark of home baking. It represents the intersection of technique and comfort. By following the detailed steps provided—from the science of the enriched dough to the precision of the “windowpane test”—you are now equipped to create a loaf that is visually stunning and undeniably delicious.
Remember that baking is a skill that improves with every loaf. Your first swirl might not be perfectly centered, or your glaze might be a bit too runny, but the flavor will always be there. Share a slice with a neighbor, toast a piece for breakfast on a rainy Sunday, and enjoy the simple, profound joy of homemade bread.
The oven is preheated, the yeast is ready, and the cinnamon is waiting. It’s time to start baking.